So I've been looking into getting engraved toasting glasses for the party, an engraved vase for the sand ceremony, and an engraved memory vase for Grandpa Nye. All that added up is expensive!! So I decided to do my own glass etching and hopefully save some money (we'll see if I actually save money).
Will need:
-8 glasses - found box of 10 pilsners for $11.00 and will use those (for the record, I don't recommend using pilsners because the one I bought were tapered and the stencil doesn't really like it, but I did get it to work). The extra two glasses will probably be used in the sand ceremony for our separate colors
-2 vases - $1.00 each at Dollar Tree
-Glass etching kit - this was the expensive part. I got the starter kit, a wedding stencil kit, and two alphabet kits for a total of about $50.00. Starter kit includes: Cream, stencils, paintbrush, Popsicle stick
-Masking tape - about $2.00
-Gloves - $1.00 for a whole bunch
Total spent: about $65.00. So far Bridesmaid Megan and I have done 3 of the pilsners so there may be more costs later
I took pictures to show how easy the process was (and it was super easy if I could do it).
Step 1: Wash the glass to make sure there are no fingerprints. Cut out and position stencil on the glass. Tape down with masking tape.
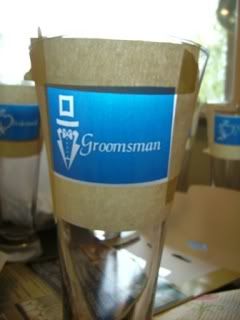
This process was a tad difficult because the glasses were tapered and we had to measure a couple times to get all of the stencils in (roughly, I hope) the same spot.
Step 2: Use a Popsicle stick (or fingernail, or back of a butter knife, etc.) to transfer stencil from plastic to glass.
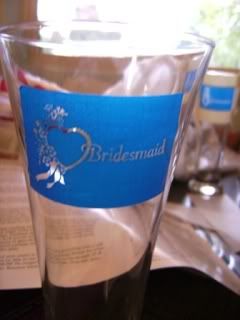
(Yes I switched glasses between pictures. I forgot to takes pictures of the first glass I did.)
The stencil bubbled slightly again because of the tapering of the glass. On something that is the same width from top to bottom, it won't be an issue. The bubbles are pretty easy to rub out anyway.
Step 3: Make sure there are no holes in the stencil that aren't supposed to be there and cover the edges with tape.
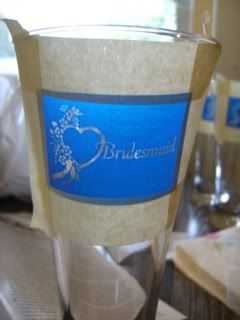
Taping down the edges of the stencil insures that you won't get any of the edging cream where you don't want it. You will also want to put tape over any holes that got put in the stencil.
Step 4: Spread a generous amount of etching cream over the stencil.

Make sure you can't see any of the lettering or design and let it sit for 60 seconds, that was all the time that was required for this cream. (I left the cream on for about 15-30 seconds longer and it looked just fine.)
Step 5: Rinse off all of the cream and remove the tape and stencil.
Run the glass under water to remove the rest of the stencil that didn't come off with the tape.
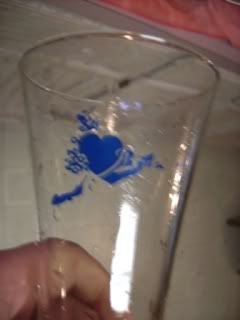
Step 6: Wash the glass and check out your handiwork!
You can kind of see the etching, but it was really hard to get a good picture, so I will try again later.
The process doesn't take very long. Megan and I had an assembly line at the beginning so all of the stencils are on and positioned and that part takes the longest. I really like how they turned out!


